
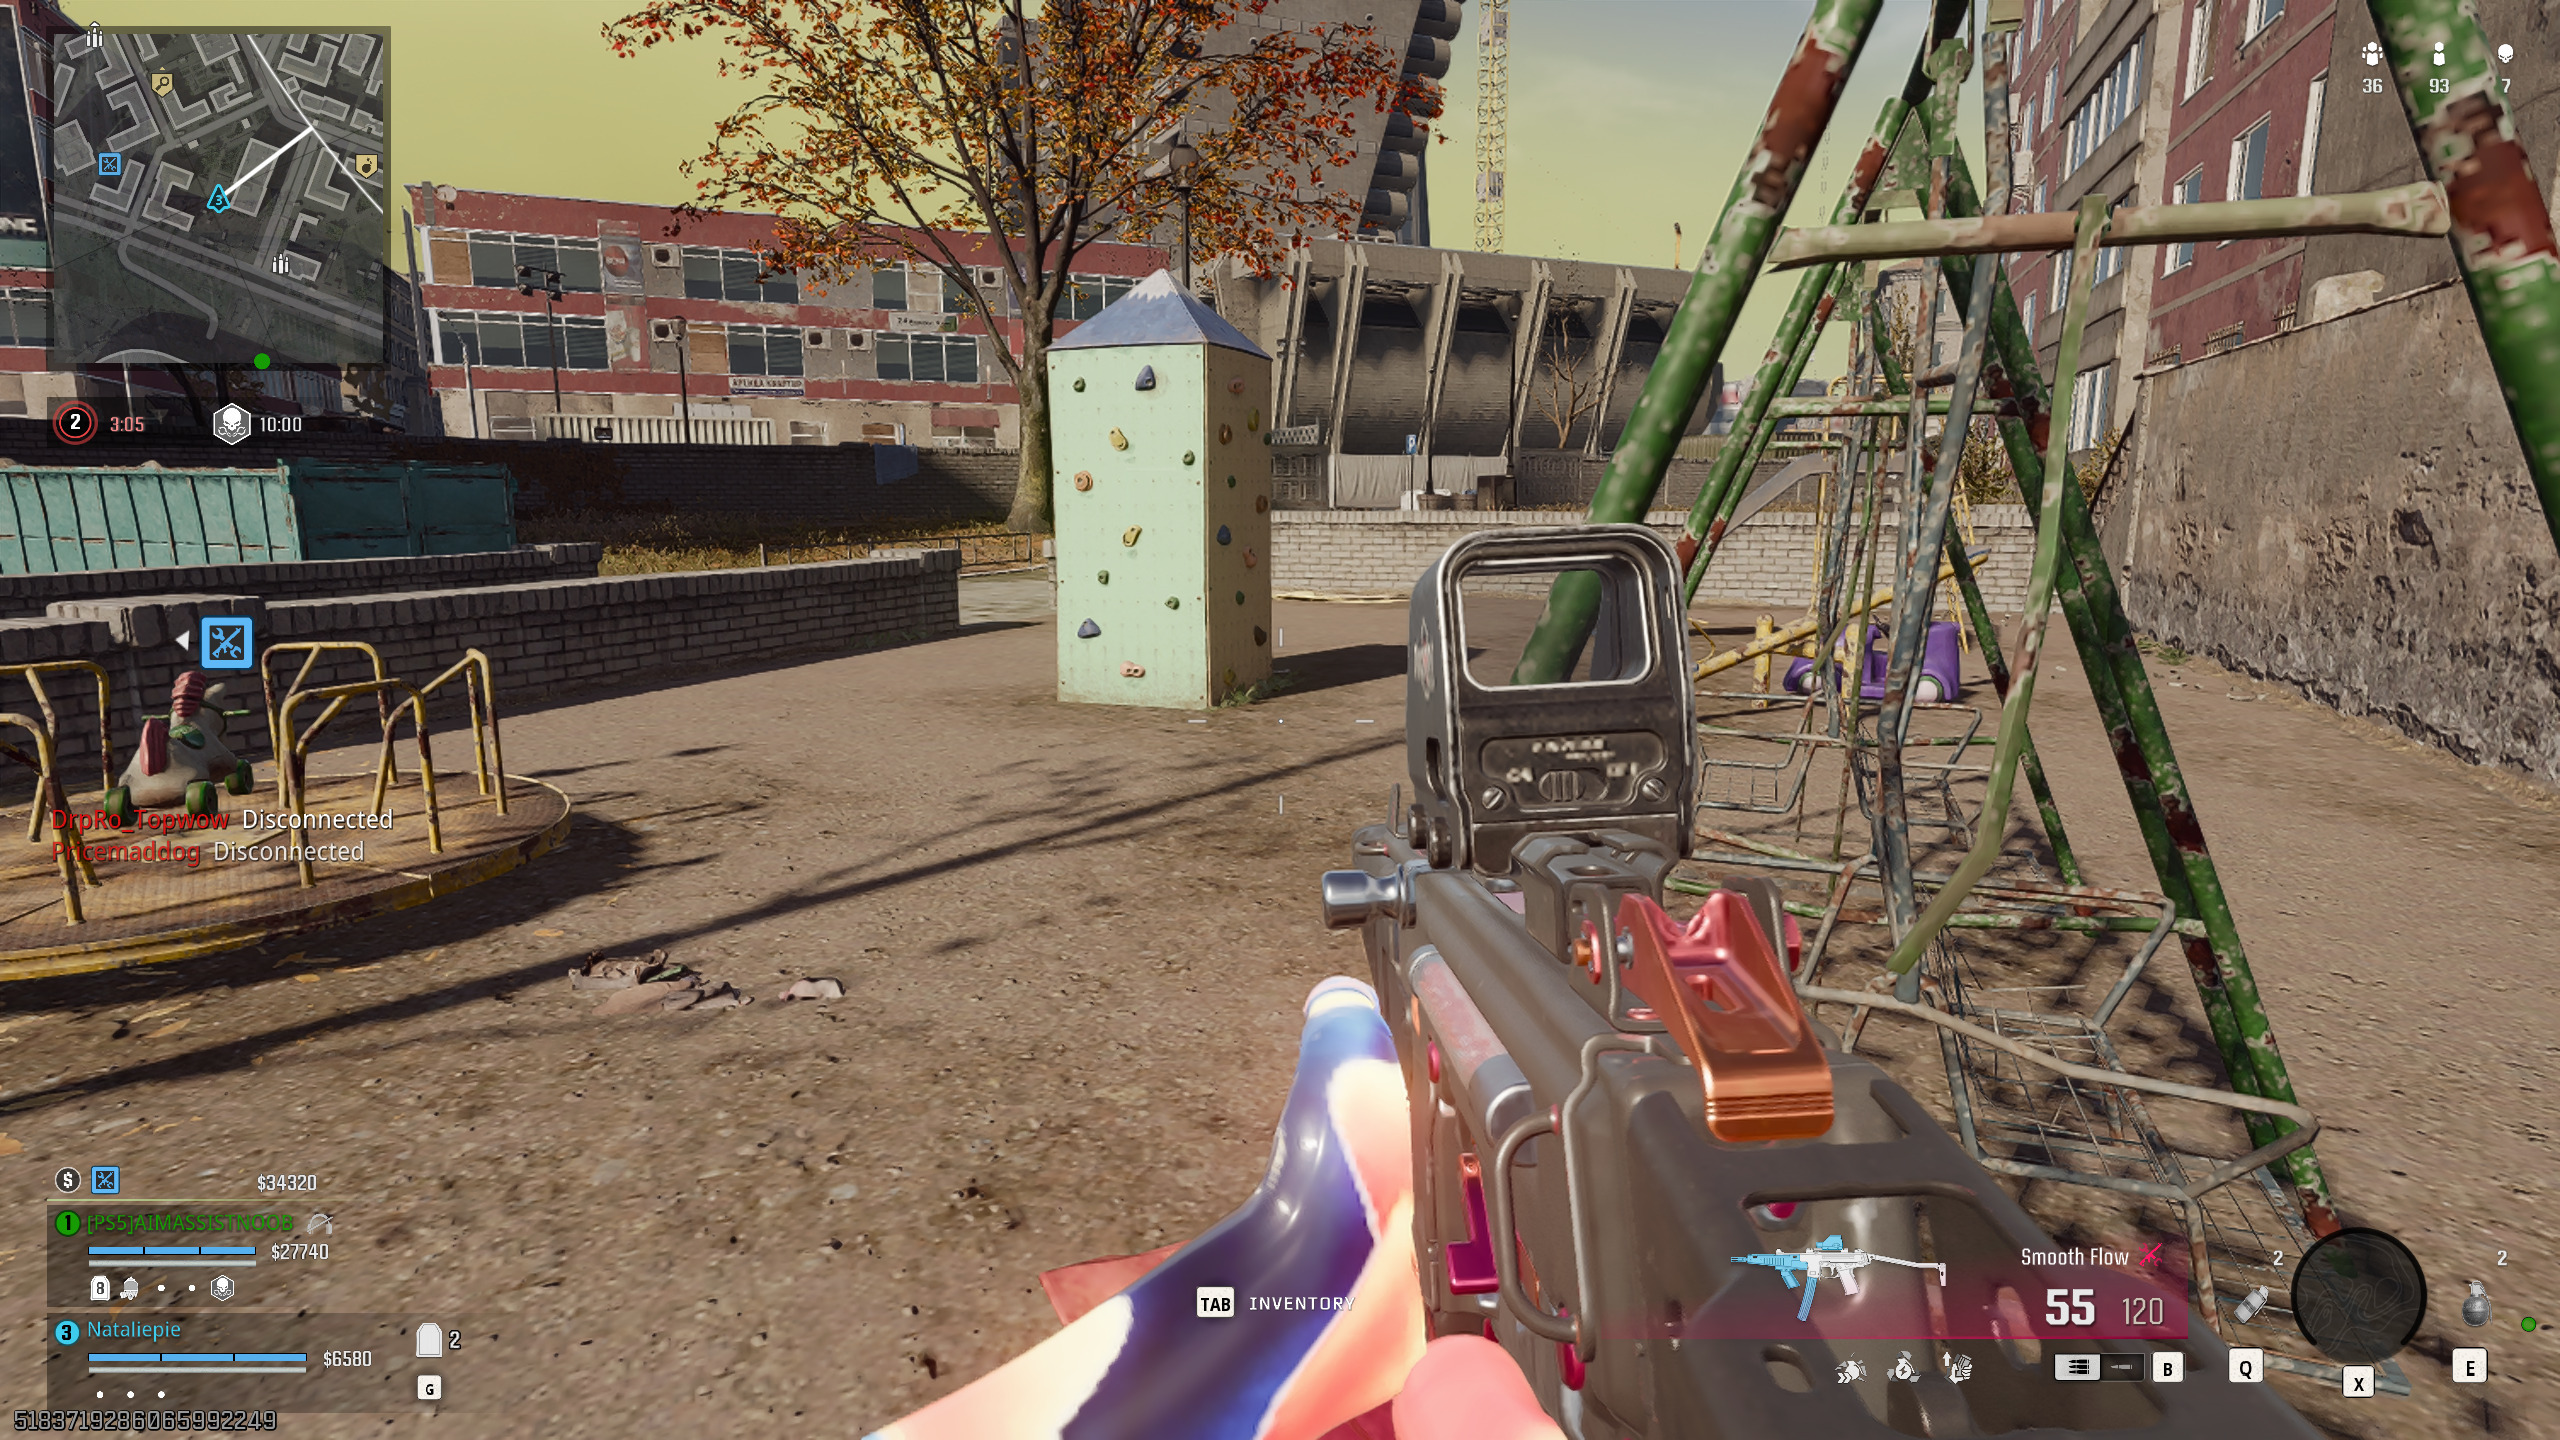
Flanking is one of the most powerful tools in Warzone, allowing players to attack enemies from unexpected angles and disrupt their formations. Mastering this skill requires timing, map knowledge, and careful observation.
Effective flanking can turn the tide of battles, as opponents caught off-guard are often eliminated before they can react. Both solo players and squads can benefit immensely from flanking strategies, as controlling the sides and rear of enemy positions can lead to dominance in key zones.
Understanding Enemy Behavior
Successful flanks rely on predicting enemy movements and routines. Observing patrol paths, loot routes, and common engagement zones allows you to anticipate where enemies will be when you make your move.

Using cover, timing, and distance management ensures that your approach remains undetected until it’s too late for the enemy to respond. Awareness of common hiding spots and choke points is critical, as rushing a flank without reconnaissance often results in ambushes or wasted resources.
Choosing the Best Flanking Routes
Flanking effectively requires selecting routes that maximize surprise while minimizing exposure. Use buildings, terrain, and environmental cover to conceal your movement. High-ground positions can offer a tactical advantage, allowing you to spot enemies and adjust positioning before committing.

Alternate paths and rotation options keep your approach unpredictable, forcing opponents to second-guess their positioning and leaving them vulnerable to coordinated attacks. Successful flanking is as much about strategy as it is about execution.
Flanking Solo vs. Squad
Solo players must balance aggression with caution, ensuring that a failed flank doesn’t lead to immediate elimination. Timing, patience, and calculated risk are key. Squads, however, can execute complex flanking maneuvers, with members covering multiple angles simultaneously. One teammate can create a distraction while another completes the flank, dividing enemy focus and maximizing damage. Coordinated communication is critical to avoid overlap and ensure each squad member knows their role in the maneuver.

- Scout enemy positions before flanking
- Use cover and terrain to remain hidden
- High ground provides vision and safety
- Coordinate with squad for multi-angle attacks
- Timing is crucial—strike when enemies are distracted
Equipment for Effective Flanks
Your loadout can greatly enhance the success of flanking strategies. Weapons with fast handling and mobility perks help close distances quickly and capitalize on the element of surprise.

Tactical grenades, flashbangs, or smoke can disorient enemies, creating openings for your push. Suppressed weapons are particularly useful, keeping your presence concealed until it’s too late. Adjust your gear to complement your preferred flanking approach for maximum efficiency.
Practice and Observation
Mastering the art of flanking requires repeated practice and careful observation. Study successful flanks in matches, noting enemy patterns, timing, and positioning.
Over time, you will develop an instinct for identifying when a flank is viable and which routes are safest. Awareness, combined with muscle memory and strategic decision-making, allows you to execute flanks flawlessly under pressure.
Conclusion: Flanking as a Game-Changer
Flanking in Warzone is not just an option—it is a tactical necessity for players looking to elevate their gameplay. By understanding enemy behavior, choosing optimal routes, coordinating with teammates, and equipping the right loadout, you can consistently catch opponents off-guard.
Mastery of flanking allows players to control engagements, secure zones, and transform challenging situations into decisive victories. The art of flanking rewards patience, observation, and timing, making it an essential skill for any serious Warzone competitor.
Leave a Reply